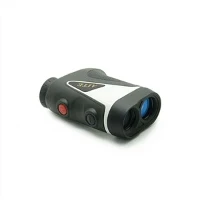
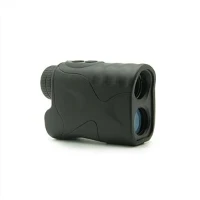
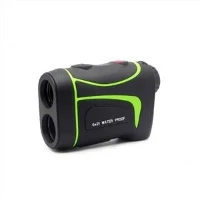
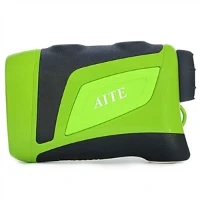
Embarking on the journey of setting up an ergonomic design golf rangefinder for the first time can seem like a daunting task, but fear not! As a leading supplier of Ergonomic Design Golf Rangefinders, I'm here to guide you through the process step by step. In this blog post, I'll share my expertise and provide you with all the information you need to get your rangefinder up and running smoothly.
Understanding the Basics of an Ergonomic Design Golf Rangefinder
Before we dive into the setup process, let's take a moment to understand what makes an ergonomic design golf rangefinder special. An ergonomic rangefinder is designed with the user in mind, taking into account factors such as comfort, ease of use, and functionality. These rangefinders are typically lightweight, have a comfortable grip, and are easy to operate with one hand. They also often feature advanced technology, such as high-precision lasers and slope compensation, to provide accurate distance measurements on the golf course.
Unboxing Your Ergonomic Design Golf Rangefinder
The first step in setting up your ergonomic design golf rangefinder is to unbox it and familiarize yourself with its components. When you open the box, you should find the following items:

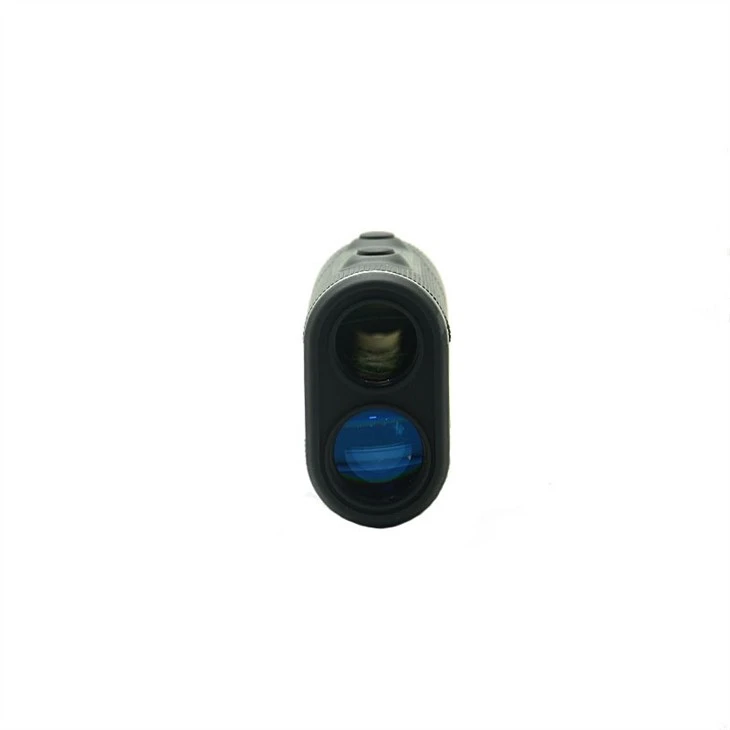
- Golf Rangefinder: The main device that you'll use to measure distances on the golf course.
- User Manual: A guide that provides detailed instructions on how to use and set up your rangefinder.
- Battery: Most rangefinders come with a rechargeable battery that you'll need to install before using the device.
- Lanyard: A strap that you can use to carry your rangefinder around your neck for easy access.
- Carrying Case: A protective case that you can use to store and transport your rangefinder.
Installing the Battery
Once you've unboxed your rangefinder, the next step is to install the battery. To do this, follow these steps:
- Locate the battery compartment on the back of the rangefinder.
- Open the battery compartment by sliding the cover in the direction indicated by the arrow.
- Insert the battery into the compartment, making sure that the positive and negative terminals are aligned correctly.
- Close the battery compartment by sliding the cover back into place.
Charging the Battery
After you've installed the battery, you'll need to charge it before using the rangefinder. To do this, follow these steps:
- Connect the charger to the rangefinder by inserting the charging cable into the charging port on the side of the device.
- Plug the charger into a power outlet.
- The charging indicator on the rangefinder will turn red to indicate that the battery is charging.
- Once the battery is fully charged, the charging indicator will turn green.
Adjusting the Focus
Before you start using your rangefinder, you'll need to adjust the focus to ensure that you can see the target clearly. To do this, follow these steps:
- Hold the rangefinder up to your eye and look through the viewfinder.
- Point the rangefinder at a distant object, such as a tree or a flagstick.
- Rotate the focus ring on the eyepiece of the rangefinder until the object appears sharp and clear.
Setting the Units of Measurement
Most rangefinders allow you to choose between different units of measurement, such as yards or meters. To set the units of measurement on your rangefinder, follow these steps:
- Turn on the rangefinder by pressing the power button.
- Look through the viewfinder and locate the settings menu.
- Use the buttons on the side of the rangefinder to navigate to the units of measurement option.
- Select the desired units of measurement (yards or meters) by pressing the appropriate button.
Using the Rangefinder to Measure Distances
Now that you've set up your rangefinder, it's time to start using it to measure distances on the golf course. To do this, follow these steps:
- Stand at a position where you can clearly see the target, such as a flagstick or a hazard.
- Hold the rangefinder up to your eye and look through the viewfinder.
- Point the rangefinder at the target and press the measurement button.
- The rangefinder will emit a laser beam that will bounce off the target and return to the device.
- The distance to the target will be displayed on the screen of the rangefinder.
Additional Features and Settings
In addition to the basic functions described above, many ergonomic design golf rangefinders also offer a variety of additional features and settings that can enhance your golfing experience. Some of these features include:
- Slope Compensation: This feature takes into account the elevation changes on the golf course and adjusts the distance measurement accordingly.
- Flag Locking: This feature allows you to lock onto a flagstick and get an accurate distance measurement even if there are other objects in the background.
- Scan Mode: This feature allows you to continuously measure distances as you scan across the golf course.
- Magnification: Some rangefinders offer adjustable magnification, which can help you see the target more clearly.
To access these additional features and settings, refer to the user manual that came with your rangefinder.
Troubleshooting Tips
If you encounter any problems while setting up or using your ergonomic design golf rangefinder, here are some troubleshooting tips that may help:
- Battery Issues: If the rangefinder won't turn on or the battery drains quickly, make sure that the battery is fully charged and installed correctly.
- Focus Issues: If you're having trouble adjusting the focus, try cleaning the lens of the rangefinder with a soft, dry cloth.
- Measurement Issues: If the distance measurements are inaccurate, make sure that the rangefinder is pointed directly at the target and that there are no objects in the way.
- Software Issues: If the rangefinder is not functioning properly, try resetting it to its factory settings by following the instructions in the user manual.
If you're still having problems after trying these troubleshooting tips, contact the manufacturer's customer support team for further assistance.
Conclusion
Setting up an ergonomic design golf rangefinder for the first time may seem like a challenging task, but with the right guidance and a little practice, you'll be able to get your rangefinder up and running smoothly in no time. By following the steps outlined in this blog post, you'll be able to install the battery, adjust the focus, set the units of measurement, and start using your rangefinder to measure distances on the golf course.
If you're interested in purchasing an ergonomic design golf rangefinder, be sure to check out our Golf Distance measuring device, Golf Range Finders on Sale, and High Precision Flag Locking Slope Golf Rangefinder. Our rangefinders are designed with the latest technology and ergonomic features to provide you with the best possible golfing experience.
If you have any questions or would like to discuss your specific needs, please don't hesitate to contact us. We're here to help you find the perfect golf rangefinder for your game.
References
- Golf Rangefinder User Manuals
- Golf Equipment Industry Publications
- Online Golfing Communities and Forums