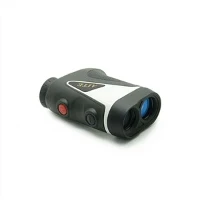
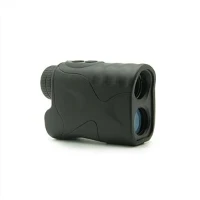
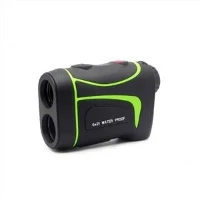
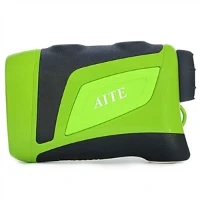
Hey there, fellow golf enthusiasts! As a supplier of the top - notch 600M Slope - adjusted Golf Rangefinder, I'm stoked to share some insights on how to calibrate this amazing piece of equipment.
Why Calibration Matters
Let's start by talking about why calibration is such a big deal. If your golf rangefinder isn't calibrated correctly, it's like going into a battle with a blunted sword. It won't give you accurate distance readings, and that can seriously mess up your game. In golf, every yard counts, and a small error in distance measurement can lead to hitting the ball too short or too long. So, proper calibration ensures that you're getting the most precise distance data, which in turn helps you choose the right club and make better shots.
Pre - Calibration Checks
Before you jump into the calibration process, there are a few things you need to do. First off, make sure your rangefinder's battery is fully charged. A low - battery rangefinder might not function properly during calibration, and you could end up with inaccurate results.
Next, give your rangefinder a quick visual inspection. Check for any physical damage like cracks or scratches on the lens. A damaged lens can distort the laser beam and affect the accuracy of the distance measurement. If you notice any issues, it's best to get it repaired or replaced before proceeding with calibration.
Also, clean the lens. Over time, dirt, dust, and fingerprints can accumulate on the lens, which can interfere with the laser's path. Use a soft, clean cloth to gently wipe the lens. Avoid using harsh chemicals as they can damage the lens coating.
The Calibration Process
Step 1: Find a Suitable Location
You need to find a place where you have a clear line of sight and a known distance. A golf course is an obvious choice, but if you don't have access to one, a large open field can work too. Make sure there are no obstacles like trees or bushes in the way of the laser beam.
Step 2: Set Up a Target
Place a target at a known distance. On a golf course, you can use a flagstick or a marker. If you're in an open field, you can use a large, reflective object like a metal plate. Make sure the target is stable and won't move during the calibration process.


Step 3: Power On the Rangefinder
Turn on your 600M Slope - adjusted Golf Rangefinder. Wait for it to boot up and initialize. You might see some startup messages or indicators on the screen.
Step 4: Enter Calibration Mode
The process to enter calibration mode can vary depending on the model of your rangefinder. Usually, you'll need to press and hold a specific button or a combination of buttons. Refer to the user manual that came with your rangefinder for detailed instructions on how to enter calibration mode.
Step 5: Take a Reading
Once you're in calibration mode, aim the rangefinder at the target. Make sure the crosshairs on the viewfinder are centered on the target. Press the measurement button to take a distance reading. The rangefinder will emit a laser beam that bounces off the target and returns to the device.
Step 6: Compare and Adjust
Compare the reading on the rangefinder with the known distance of the target. If there's a difference, you'll need to adjust the calibration settings. Most rangefinders have a calibration menu where you can increase or decrease the distance reading. Make small adjustments and take another reading to see if the accuracy improves. Keep repeating this process until the reading on the rangefinder matches the known distance as closely as possible.
Step 7: Save the Calibration
Once you're satisfied with the accuracy of the readings, save the calibration settings. This will ensure that your rangefinder will continue to give accurate distance measurements in the future. Again, refer to the user manual to learn how to save the calibration settings.
Tips and Tricks
- Always calibrate your rangefinder in similar weather conditions to those in which you'll be playing. Temperature, humidity, and wind can all affect the performance of the rangefinder.
- If you're having trouble getting an accurate reading, try using a different target or changing your position. Sometimes, the angle of the laser beam can affect the measurement.
- Don't forget to calibrate your rangefinder regularly, especially if you've dropped it or if it's been exposed to extreme conditions.
Our Quality Products
As a supplier, we take pride in offering high - quality Golf Rangefinder. Our 600M Slope - adjusted Golf Rangefinder is designed with the latest technology to provide accurate and reliable distance measurements. It's easy to use, even for beginners, and comes with a user - friendly interface.
We also offer Cheap Rangefinder without compromising on quality. These rangefinders are perfect for golfers on a budget who still want to enjoy the benefits of having accurate distance data on the course.
If you're interested in the technology behind our rangefinders, check out our Laser Range - finder Module. It's a key component that makes our rangefinders so precise.
Let's Connect
If you're thinking about purchasing our golf rangefinders, we're more than happy to talk to you. We can answer any questions you have about calibration, product features, or pricing. Whether you're a professional golfer or just starting out, our rangefinders can take your game to the next level. Reach out to us, and let's discuss how we can meet your golfing needs.
References
- Golf Equipment Handbook: A guide to understanding and maintaining golf gear.
- Rangefinder Technology Journal: Articles on the latest advancements in rangefinder technology.